
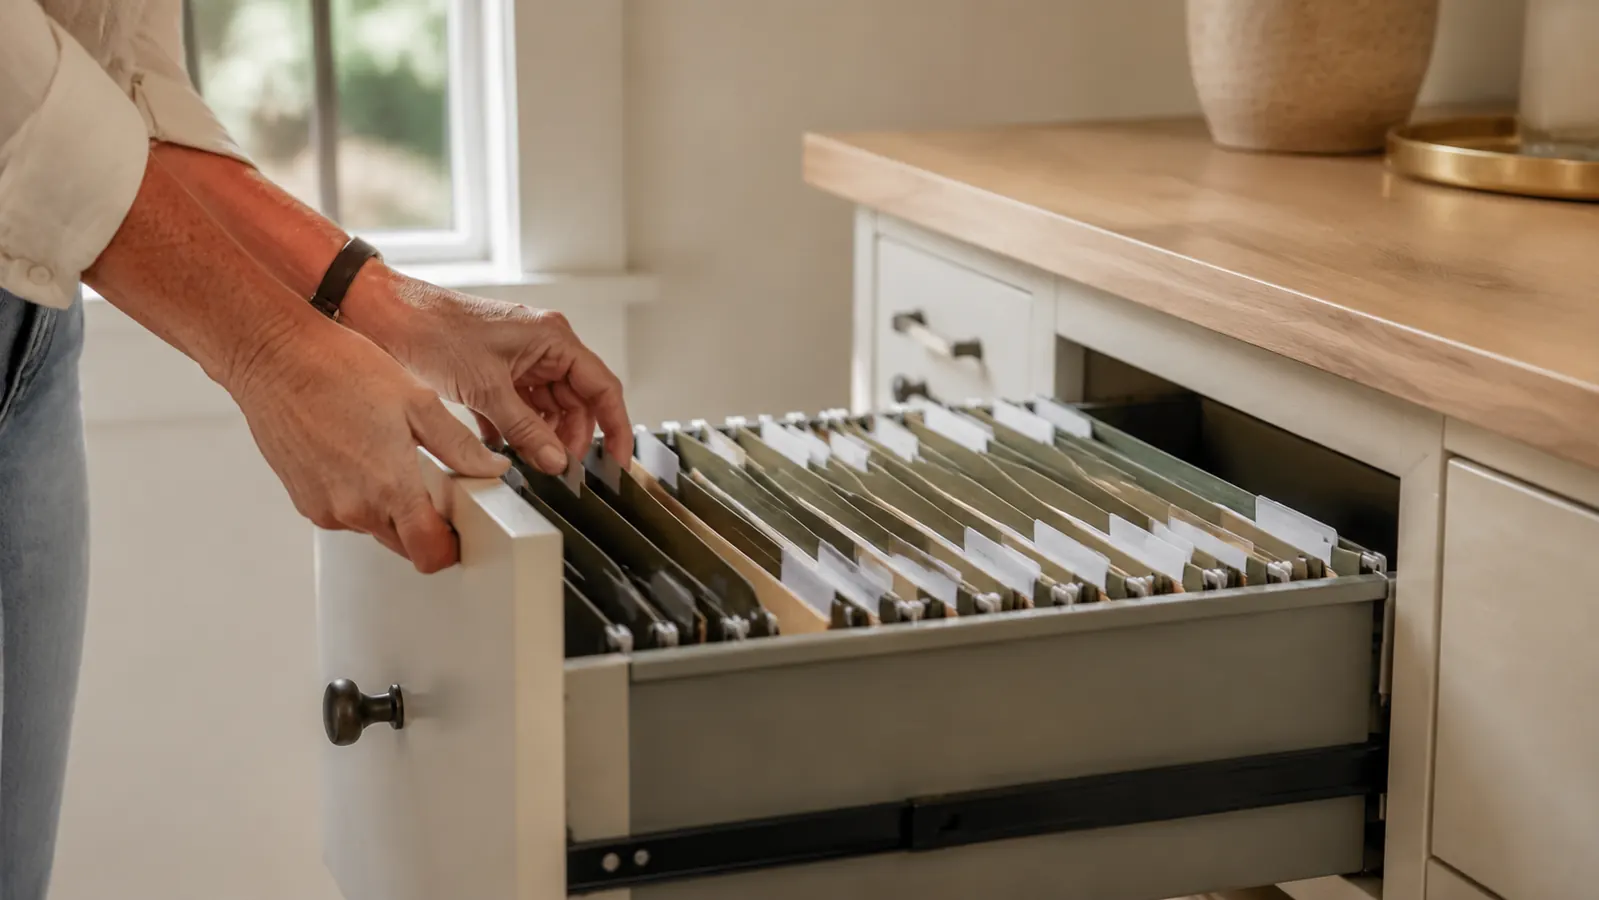
For about two years, my filing system was a cardboard box on the floor of my home office labeled, in my own handwriting, 'PAPERS.' That was the whole system. Tax documents, warranty cards, old pay stubs, a manual for a printer I no longer owned, all of it in one box, sorted by nothing. Every time I needed one specific piece of paper, usually right when I needed it most, I'd end up sitting on the floor going through the entire box by hand, papers everywhere, running late for whatever I actually needed the document for.
If that sounds familiar, you're not alone, and it's not a character flaw. Most of us never got taught how to actually organize paper, we just started shoving it somewhere and hoped future-us would deal with it. The fix that finally worked for me wasn't a fancier filing cabinet or a color-coded app. It was a small handheld label maker and about two hours on a Saturday. Below is the exact process I used, step by step, so you can skip the two years I spent living out of a cardboard box.
Stop digging through a pile to find one piece of paper
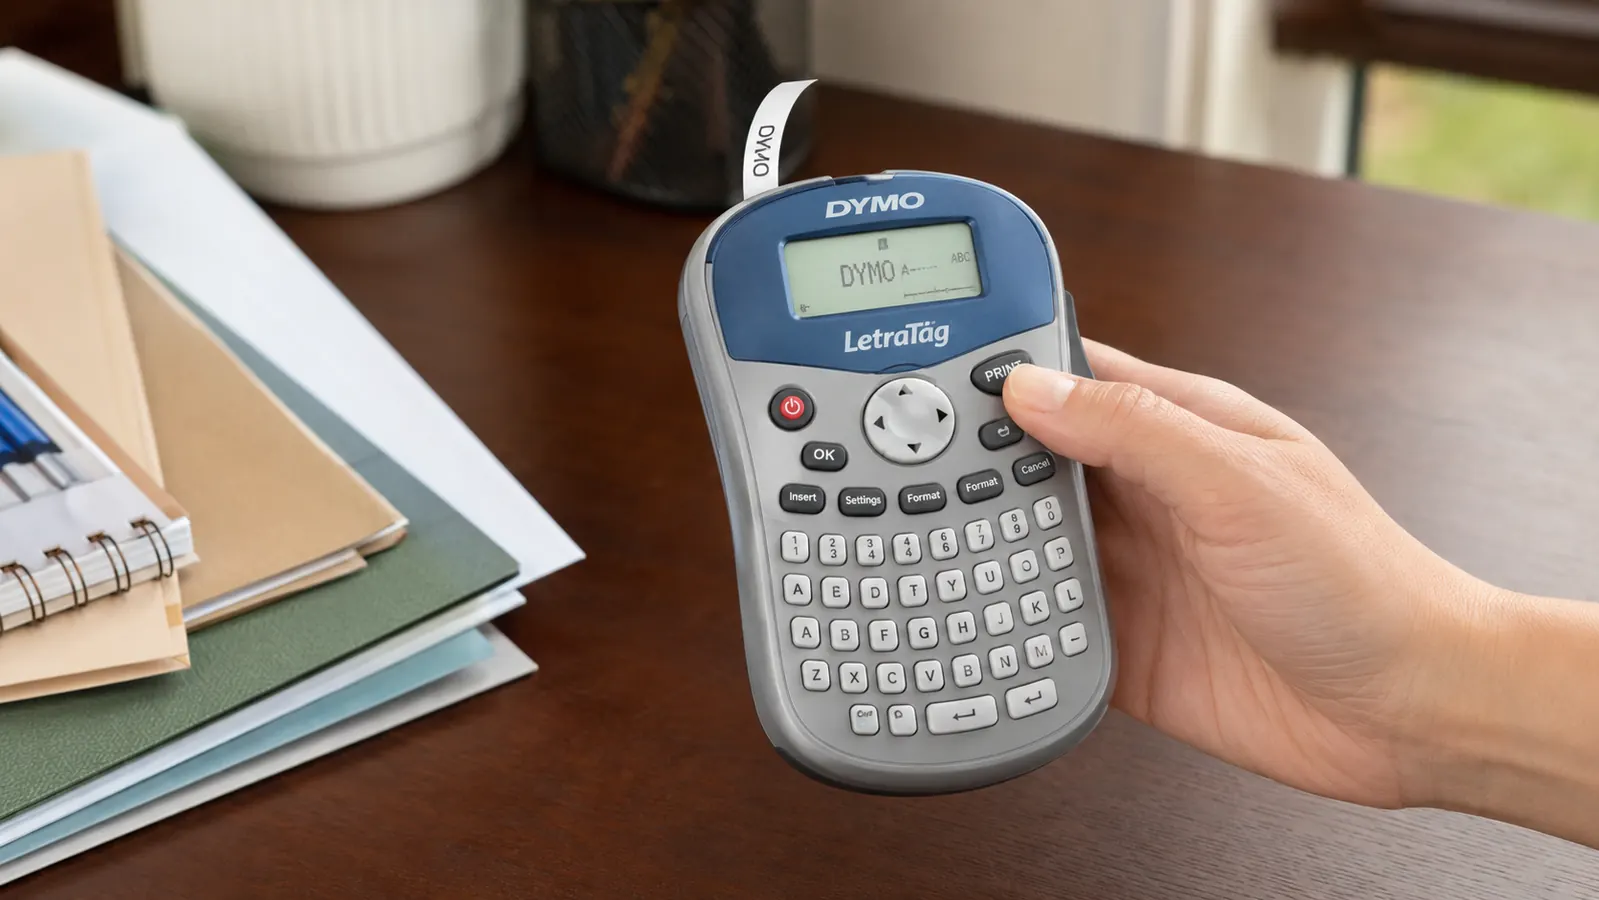
The DYMO Label Maker is the one I bought after getting fed up with handwritten sticky notes falling off my folders. It's a handheld device that prints clean, sticky, real labels in a few seconds, no computer or app needed, and it comes with three tapes so you can start right out of the box.
Amazon Check Today's Price on Amazon →Step 1: Pull everything out before you label anything
The instinct is to grab your label maker and start labeling the folders you already have. Resist that. The first step has nothing to do with the label maker at all. It's pulling every loose paper, every folder, every drawer's worth of contents out onto a table or the floor where you can actually see it. When I did this the first time, I found four different folders all containing some version of insurance paperwork, none of them labeled, none of them complete.
Sort into rough piles first: bills and statements, tax and financial records, warranties and manuals, medical, personal or sentimental, and anything home-related like mortgage or lease paperwork. You don't need to get precise yet. You're just grouping like with like so you can see the actual shape of what you're organizing before you commit to a system.
This step took me almost an hour the first time, mostly because I kept stopping to read old documents I'd forgotten I had, a lease from an apartment I moved out of years ago, a warranty card for a microwave that broke ages back. That's normal. Give yourself permission to go slowly here, because a labeling system built on top of an unsorted mess just gives you a neatly labeled mess, and that's not actually progress.
Step 2: Get your label maker set up and test a few labels first
Once your piles are sorted, it's time to bring in the label maker. I use the DYMO Label Maker, and the first thing I'd tell anyone is to run a handful of test labels before you commit to your real ones. Type a word, print it, peel it, stick it to a scrap of cardboard. Get a feel for the button layout and how the letters actually look printed out, because it's a little different than typing on a phone or laptop.
The DYMO comes with three tapes in the box, which matters more than it sounds like it would. My old approach was handwritten labels on masking tape, and within a few weeks the ink had smudged and the tape had started peeling at the corners. A proper label maker like the DYMO prints clean, legible text that doesn't rub off if a folder gets bumped or a drawer gets a little damp. That durability is the whole reason to switch off handwriting in the first place.
Check the battery situation too, since you don't want it dying halfway through a big labeling session. Mine runs on standard batteries, and I keep a spare set in the same drawer as the tape refills so I'm never caught mid-project with a dead label maker and forty folders left to go.
It's also worth trying a couple of font sizes before you settle on one. I print folder tabs in a slightly larger size so I can read them from a normal standing distance, and I use a smaller size for bin labels where the print sits closer to eye level anyway. Small detail, but it saves squinting later, especially for anyone whose eyes aren't what they used to be.
Step 3: Decide on a naming system before you print a single label
This is the step most people skip, and it's the one that determines whether your system holds up six months from now. Before you print anything, decide how you're going to name categories. Are you going by broad category ('Financial,' 'Medical,' 'Home') or by specific subject ('2026 Taxes,' 'Car Insurance,' 'Furnace Warranty')? I use a mix, broad category on the hanging folder, specific subject on the folder inside it, so I can scan quickly at either level.
Keep your wording consistent. If you label one folder 'Medical' and another 'Health Records,' you've created two categories that mean the same thing, and six months from now you won't remember which one you used. I keep a small running list on my phone of every label I've printed with the DYMO, so when I add something new I check the list first instead of guessing.
Don't over-categorize either. I made this mistake early on, creating a separate labeled folder for nearly every individual document. It looked impressive but made the drawer harder to use, not easier. A handful of clearly labeled broad categories beats twenty narrow ones you'll forget the logic behind.
If you share the filing drawer with a spouse or roommate, it helps to agree on the naming system together before either of you prints a single label. I learned this after my own system and my husband's handwritten notes on the same drawer disagreed on what counted as 'Home' versus 'House.' A five-minute conversation up front saves a lot of confusion down the line.
Step 4: Label folders, bins, and drawers in that order
Start with the hanging folders in your filing drawer, since that's usually the highest-traffic part of the system. Print each label, press it onto the folder tab, and set the folder back in place before moving to the next one. I found it easier to lay all the empty folders out on the desk, label every single one in a row, and then file them all at once, rather than labeling and filing one at a time.
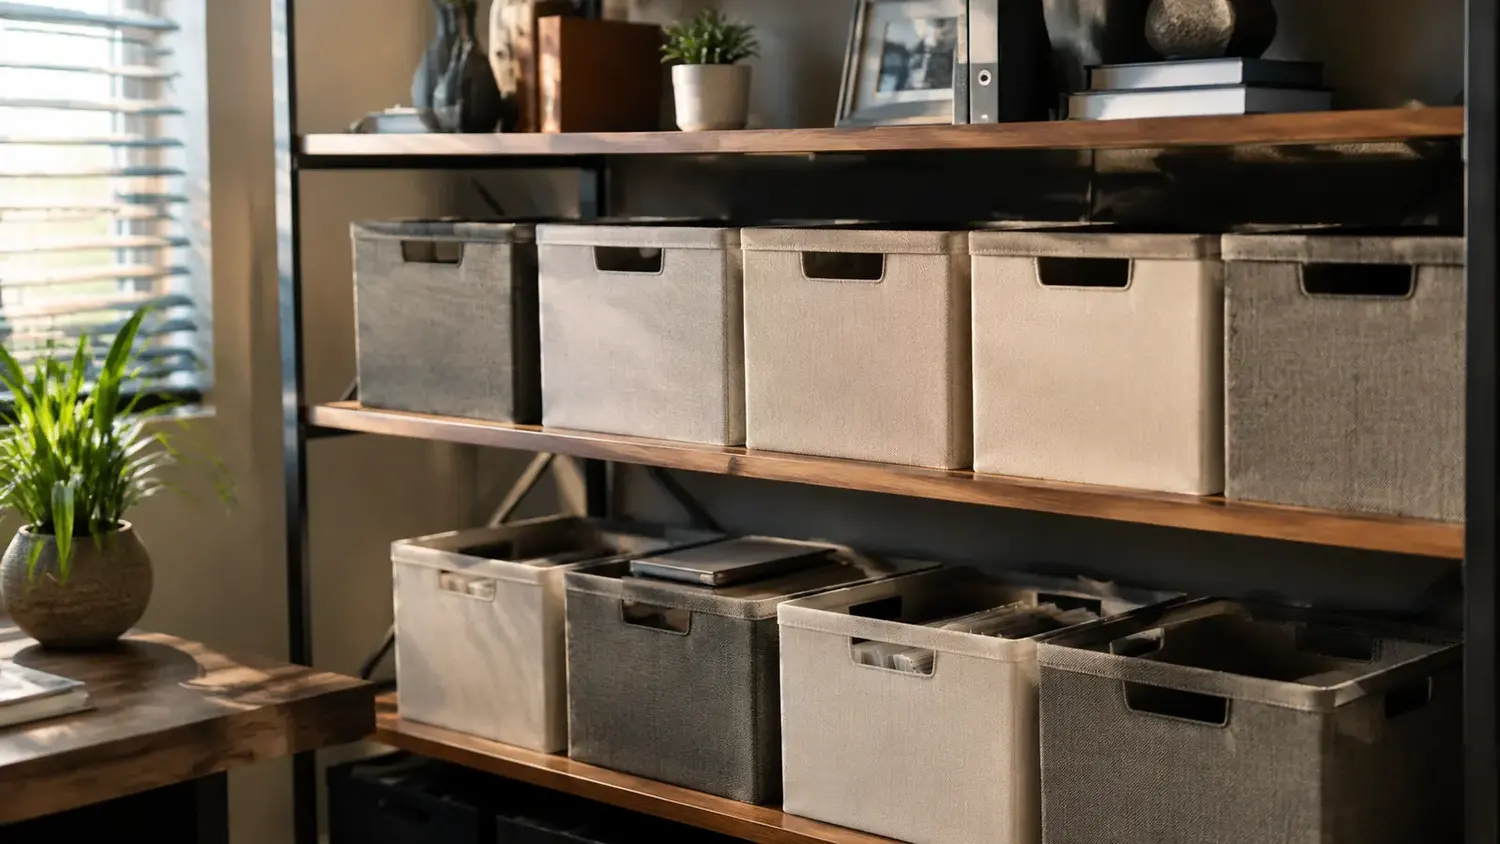
Once the drawer is done, move outward to storage bins, if you keep things like manuals or receipts in bins on a shelf rather than a drawer. A label maker works just as well on a plastic bin as it does on a paper folder, and it looks a lot more professional than a strip of masking tape with marker on it. I labeled four bins on my office shelf in one sitting, sorted by category, warranties and manuals, spare cables and cords, office supplies backstock, and old project files I wasn't ready to shred.
Last, label the drawers themselves if your desk or cabinet has more than one or two. A quick label on the front of each drawer, 'Pens & Supplies,' 'Cables,' 'Notepads,' means you're not opening three drawers to find one thing. This is a small step but it's the one guests and family members notice most, because it means they can also find what they're looking for without asking you.
Don't stop at paper either. I ran a few extra labels off the DYMO for the archive box in our closet that holds old tax returns going back seven years, and for the small tin where I keep spare keys and appliance manuals. Once you've got the label maker out and warmed up, it's worth doing a full sweep of the house rather than putting it away and pulling it back out again next month.
Step 5: Build in a light maintenance habit so it doesn't slide back
A labeled system only stays a labeled system if you keep feeding it correctly. I set a recurring reminder for the first Saturday of every quarter to spend fifteen minutes reviewing the drawer, pulling anything that's clearly expired or unnecessary, and printing a fresh label with the DYMO for anything new that's found its way into the house since the last check.
Keep the label maker somewhere visible, not buried in a drawer itself. Mine sits in a small tray on my desk next to a pair of scissors, so when a new folder needs a label, it takes ten seconds instead of becoming a task I put off for a month. The friction of digging the label maker out of storage is exactly what killed my old systems before this one.
I also keep the spare tape cartridges in the same tray, since running out mid-project is the fastest way to abandon the whole habit. A single roll has lasted me a few months of regular use, so I buy the next one before the current one runs low rather than waiting until I'm standing at the desk with no tape left and a folder in hand.
What Else Helps
A label maker solves the identification problem, but it works best paired with actual physical storage that has enough room to grow. If your filing drawer is already stuffed to capacity, even perfect labels won't make it easy to use, since you'll still be wrestling with overstuffed folders to get anything in or out. A slightly bigger filing cabinet or a couple of extra bins gives your newly labeled system room to breathe. And don't underestimate a quick shred session before you start. I tossed out nearly a third of what was in my old box once I actually looked at it, expired documents and duplicate copies I never needed to keep in the first place.
It's also worth scanning a handful of the documents you truly can't afford to lose, deeds, birth certificates, insurance policies, and keeping digital copies as a backup. That's a separate project from labeling, but the two work well together. A labeled physical folder tells you exactly where the original lives, and a scanned copy means a spilled cup of coffee or a leaky roof isn't a total disaster.
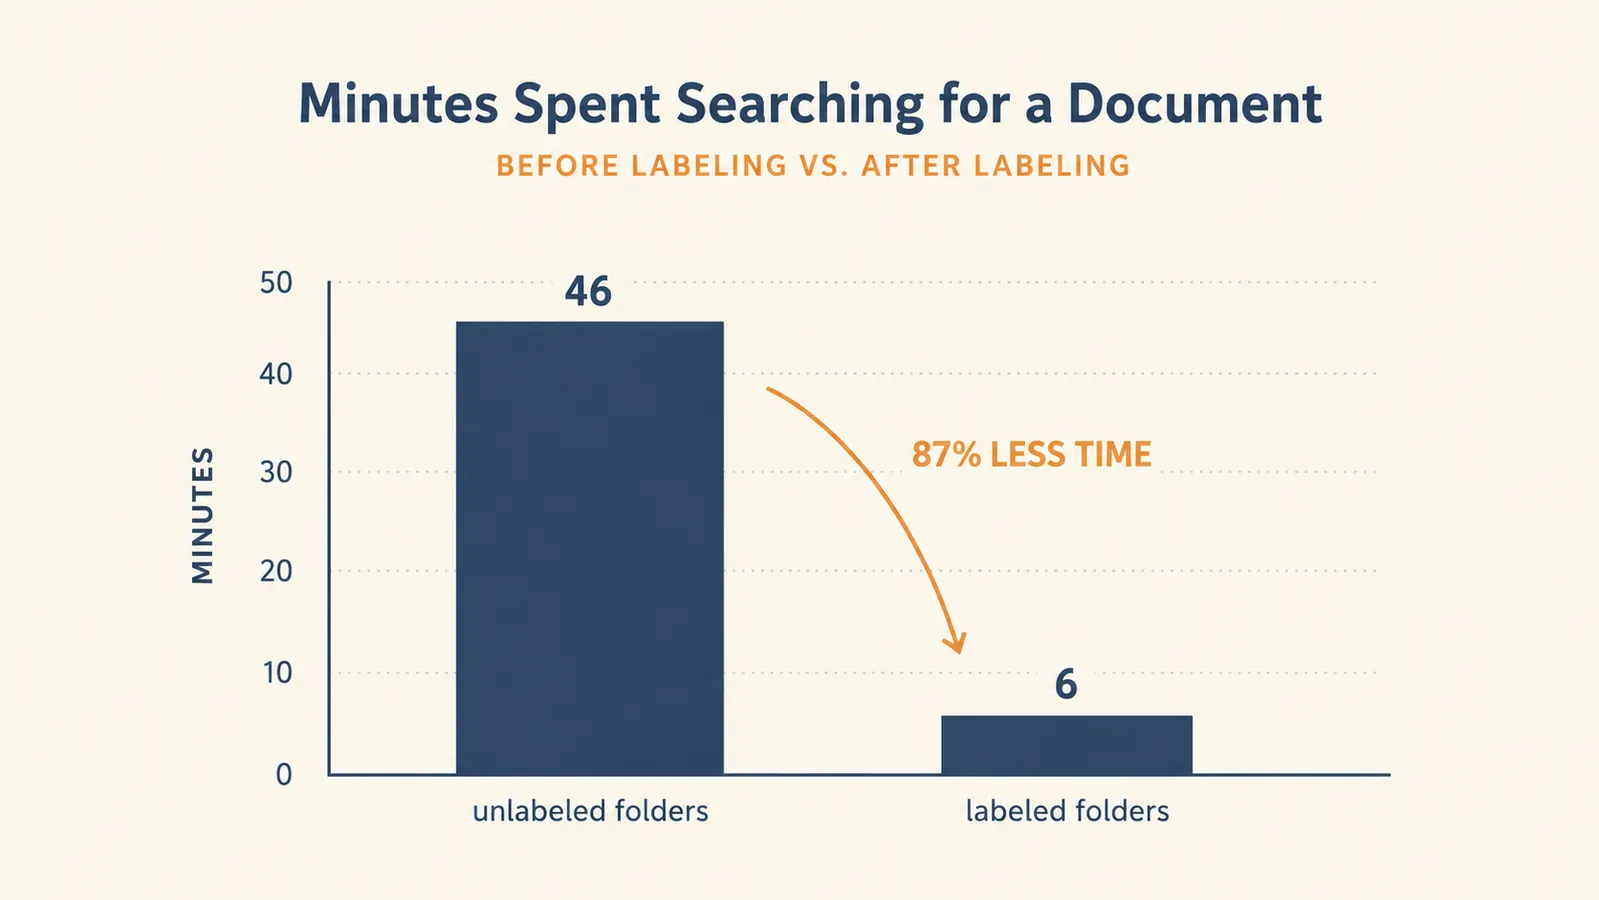
It's not a complicated system. It's a stack of folders that say what's actually inside them. But it turned fifteen minutes of digging into about ten seconds of finding.
You shouldn't need a search party to find your own paperwork
If you're tired of guessing which folder something landed in, the DYMO Label Maker is a small, affordable tool that makes an afternoon of sorting stick for good. It's the one I still reach for every time something new needs a home.
Amazon Check Today's Price on Amazon →